

It's okay - we all do it. It's really not any fun to do, it takes forever, and your brushes are just going to get dirty again. Who cares if your blending brush has too much eyeshadow on it? It'll just make defining your crease or blending out your smokey eye easier. Too lazy to wash your foundation brush, but you know you'll break out if you go too long? It's cool, you can still totally cover up any blemishes with more makeup.
Right? Wrong.

Today, I said no to laziness for once. I decided to make cleaning my makeup brushes a little more fun. How, you ask? By making my own foaming brush cleanser, of course. And you know what? It worked. I actually half enjoyed cleaning my makeup brushes.
This is a great project to make washing your makeup brushes an easier task, too. It cuts down on washing time, doesn't waste as much water, and leaves your brushes soft to the touch. Everybody wins!

Here's what you'll need to make your own:
- An empty foaming hand soap container
- Distilled water
- Baby shampoo
- Moisturizing dish detergent (or any moisturizing shampoo, even)
- Tea tree oil (optional)
A few notes before we get started:
The real magic of this foaming brush cleanser lives in the soap dispenser. If you use a regular, pump-style dispenser, your solution won't foam at all. You can often catch foaming hand soaps on sale at Bath and Body Works for as little as $2.50, and drugstore options cost even less.

Additionally, the use of tea tree oil is absolutely optional. If you have it around the house, it's particularly nice to add because of its antibacterial and antimicrobial properties in order to keep your brushes sterile. It will probably also help extend the shelf life of your cleanser.
Here's what you'll need to do:
- Clean out your foaming soap dispenser, especially the nozzle. A lot of dried soap collects there, and it'll be a little too harsh on your makeup brushes.
- Fill up your container with water. I recommend filling it up only 7/8ths of the bottle. This way, you'll have enough room to add and to mix the rest of your ingredients.
- Add one part baby shampoo to two parts moisturizing dish detergent as well as 2-3 drops of tea tree oil. For an 8.75 oz Bath and Body Works bottle, I used 1/2 teaspoon baby shampoo and 1 teaspoon dish soap. Don't be afraid to add more if you don't think you've added enough - if you don't use enough soap in it, your cleanser won't foam correctly and will be very watery.
- Screw the nozzle back on, shake to combine all the ingredients thoroughly, and you're done!

By the way, you'll want to make sure that you shake the bottle a bit before each brush-washing session in case anything separated while you weren't using it.
If you need a little help when it comes to brush cleaning, or if you need some tips when it comes to using this foaming cleanser, here's a guide on how to clean your makeup brushes to get you started:
- Wet your brushes under running water. Using a basin, a cup, or plugging up your sink are some other options, but aren't the best because you'll have the freshest water for rinsing under a tap.

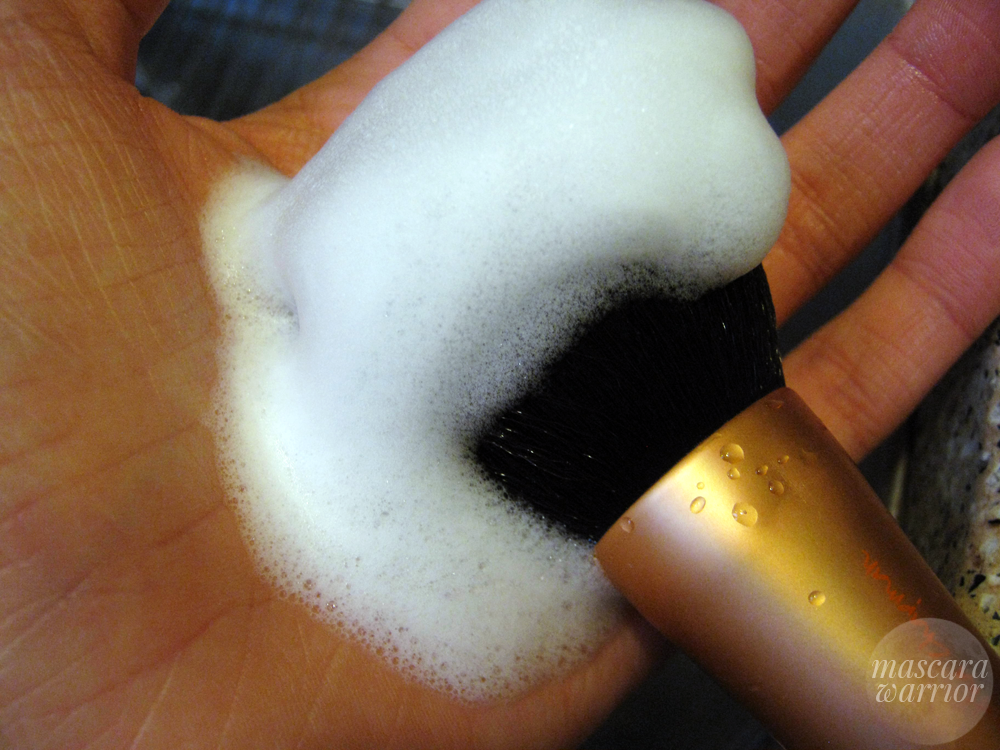
- Apply your foaming brush cleanser to the hairs of the brush and work through it with your fingers. If you're cleaning brushes that use cream or liquid products on it (like foundation), you'll want to use more cleanser.

- Rinse thoroughly, repeating step 2 as needed in order to get all the makeup out. Gently squeeze the excess water from the brush and lay it to dry. It's always a good idea to dry your brushes at an angle instead of flat or brush side up: this way, the water from the bristles won't seep downward into the ferrule of the brush, loosening the glue and shortening its life span. I like to create an uneven plane by folding a dish towel and laying my brushes at an angle, like this:

That's it! This easy project definitely spices up the drudgery of washing your makeup brushes. You may even want to wash them more often afterward!
Please let me know if you're interested in making this, or if you do try it! I'd love to hear about your experiences with it.
If you liked this post, please consider sharing it with your friends! They will definitely thank you (and I will, too).
Thanks for reading!
Until next time,

Keep in touch!
- Like Mascara Warrior on Facebook
- Follow my blog with Bloglovin'
- Follow me on Pinterest or Twitter or Instagram
Thanks for the great tutorial. How often do you recommend washing brushes? Should foundation brushes be washed more frequently than eye brushes?
ReplyDeleteGlad you enjoyed it! A good rule of thumb is to deep clean your brushes like this about once a week. It's definitely a good idea to wash your foundation brushes often in order to avoid breakouts, but I think you could go longer without washing your eye brushes in you spot clean them on a damp washcloth as needed. I find it easier to wash them all at once though!
DeleteHello darling! I absolutely loved this post and I really needed the pointers (brushes were looking a little sketchy and I was starting to break out a little, yikes!). I tried this and it worked wonderfully! The only thing I changed though is that I put a very tiny amount of vanilla extract in instead of the tea tree oil, since I had some on hand and it also has some antibacterial properties. It also made my brushes smell pretty good. Keep up the great job with your blog!
ReplyDeleteI am so glad! I'm sure they smell fantastic. I will try that next time I make a batch!
DeleteAlthough I don't wear a lot of make-up, I'm totally guilty of not washing my brushes very often! Thanks for this fabulous post!
ReplyDelete